Wednesday, April 25, 2012

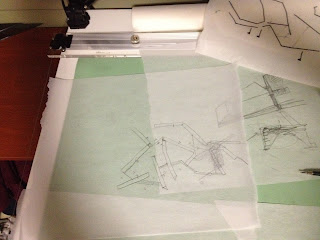
after bifurcation

After drawing out different iterations of the plan, these are the graves I chose to definitely keep:


Dividing the left most space was still an issue, so I axonometrized the plan:


Each piece in question is in cardboard, to be later added to a model:


With the winning scheme being one that creates a new ceremonial space that is better organized and more intentional.:


I then added the ground, albeit a bit abstractly:

-a

accidental and unsuccessful space

I started exploring the accidental enclosed space and ways to divide it up.


And arrived at this:


I also explored what happens in section when the hills falls away and also when the paths slope down.

-a

Wednesday, April 18, 2012

affect

First attempt at plaster.
Pre Plaster

Mold

I was trying to figure out what happens at the top. The inverse of the actual grave plots (the bottom half) occurs on the otherwise plain top half. I followed the slope the hill...which I created...so I could recreate it and make it work better.

We talked about creating openings (removing some of the pop outs and being able to see completely through to the sky) and how that would affect the space.


Like this. Except not so ugly and not with an umbrella like piece over the top.

Another option is to make gashes in the top that relate different parts of the site to each other.

I'm currently drawing out the rest of the plan based on existing geometric relationships and angles, after which I will be exploring the site more in section to determine how the graves should meet the sky.


-a


Sunday, April 15, 2012

arithmetic

Just kidding. Geometries. Descriptive (I think?) geometries. No measuring involved!

Roberto taught us how to draw parallel and perpendicular lines without rulers. And we learned all about drawing tangencies and things. Not that it isn't helpful, but it would have been amazing to have this Day 1 of architecture school. However, now we can use it starting this semester!


The final drawing:


-a

Wednesday, April 11, 2012

(a) bifurcating drawing

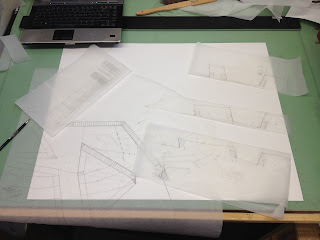
Did what Luis suggested and took photos of different layouts:

 1

 2

 3

 4

5

I like the three sections branching off to the right. They have been spaced out more so they're not as cramped and on top of each other. Also, the whole drawing is meant to branch from the bottom left (like a tree) to the top right. Haven't decided on the final position of the elevation, but I'm leaning towards the bottom one. Here is the preliminary, undetailed drawing as of now:


-a

Tuesday, April 10, 2012

as is and accidents

Things that don't work:


Not modifying the lines of my initial tree diagram and using them "as is." Boring. Noneffective. 


Shallow cuts! Go big, or go home. Because going slightly larger than small just doesn't work. Looks like an accident, and not a happy one.


Trying to glue additional pieces onto a cardboard site just to see...better just to redo it. However, from this one, I learned that the hill needed to be built up more. This is a partially rebuilt hill.

-a

alterations


Carving into the site more. Building up the rest to make it way more dramatic.


I'm using the basic tree drawing I have (that has been the basis of everything) as the design of the carving. I drew it based off of the back of one of my drawdels:

(This is the front.)

(This is the back.)

It's been altered a little bit to create larger voids, but it's primarily the same. The scale also had to be adjusted slightly to work with the existing site.

-a